Just a quick post to draw your attention to some free art ideas and lesson plans on Blick.com. You can find some good ideas here!
Author: Michelle Mersereau Farber
Technology in the Arts from Deep Space Sparkle
Hi Volunteers!
I’m really excited about this bundle that is going to be released by Deep Space Sparkle tomorrow. It has projects and resources that utilize technology in the classrooms to teach art lessons. Check out this sneak peak video!
If anyone is interested in diving into this with me, let me know as I will definitely be signing up to receive this bundle of ideas. I don’t know what our technological capacities are at Lowell, but it is worth finding out.
Art Night at Lowell
Hey volunteers!
Please reach out to your teacher(s) and see if they need any help getting ready for Art Night this year. It is Thursday, May 30th from 6-8pm in the Lowell Basement.
If you are new to Lowell, Art Night is a night in late May where each child has the opportunity to show a piece of artwork they have created during the year. It is a chance for them to admire the work of their friends and fellow students and for all of us to enjoy our amazing community. Plus there is ice cream provided by the PTA!
Teachers generally need help labeling the pieces of art, mounting them on construction paper, and making sure every child is represented. We’re asking that the art be ready to go by May 22nd so that we can collect it and get it ready to display.

Robots!
This is one of my favorite projects to do.
Supplies Needed:
- Watercolor/Heavy paper
- Assorted Recycled materials from Tinkertopia
- White glue
- Glue dots or a hot glue gun for post-production or older grades
Ideas for Lessons:
- 3-dimensional art
- Creative problem solving
- Using glue in appropriate amounts
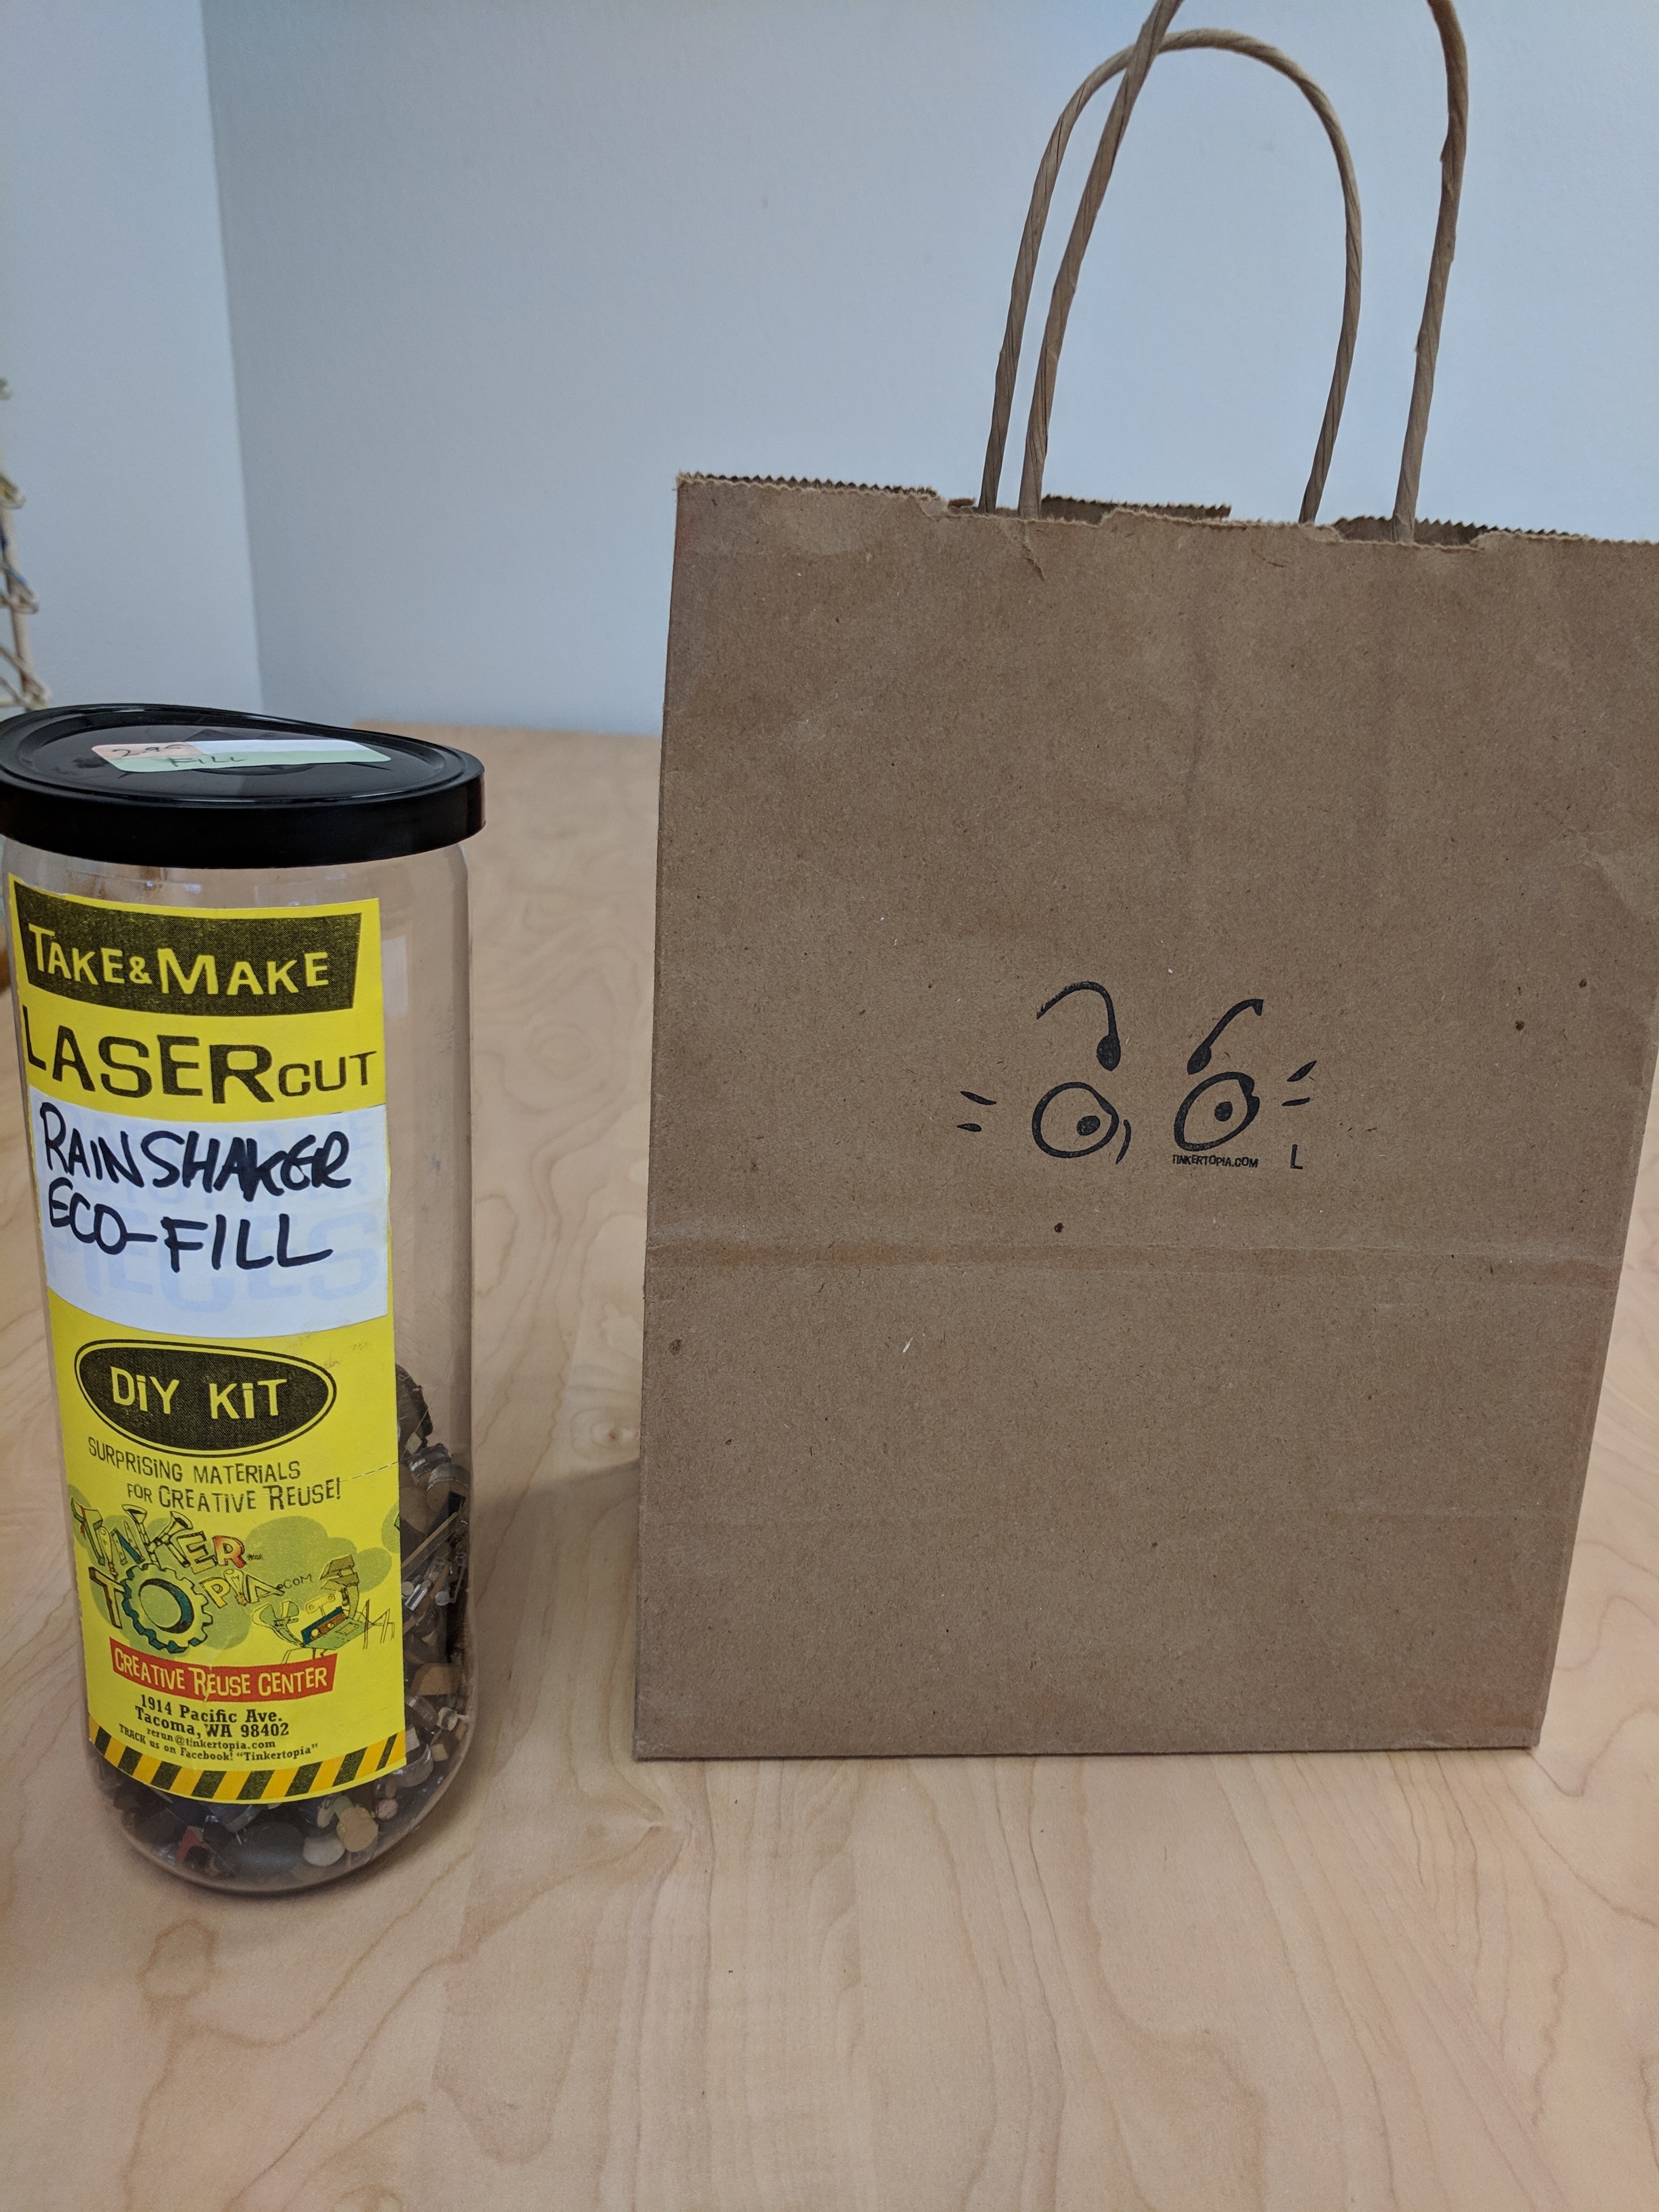
The first step in this lesson is to go to Tinkertopia in downtown Tacoma and purchase recycled bits and baubles for the kids to make into robots. You can get a large sized bulk bag for about $10.00. It is wise to choose pieces from the bulk section that are easily glued to paper and to each other with regular school glue. I choose things made out of thin wood, lexan, and cardboard mostly. Think about the shapes of things too. I get a big handful of round pieces for eyes, heads, wheels. And longer pieces for arms and legs. Larger squares for bodies. I also purchased a “rain shaker kit” of theirs which provided a ton of smaller pieces to use a buttons, switches, eyes, etc. You can be reimbursed for these purchases by submitting receipts along with the PTA reimbursement form to me.
I like to ask the kids to develop a “robot” that will solve a problem. You can do this any number of ways. Ask for a set of every day problems (reaching for things that have fallen under the couch, cleaning up after baby sister, etc.) then ask the kids to build a robot that could help solve that problem. What kind of tools would the robot need to have to do their job?
Then let the kids have at the goodies. They need quite a bit of glue to get things to stick well. I portion out different sized bits into bowl and put a selection on each table. You could also do it “buffet style”. I also like to have glue dots or a hot glue gun around to attach anything that is being stubborn. I do this after the kids are gone though or everyone will want to use those things.

Amazing resources for art in the classroom from ArtsEd Washington.
I am frankly blown away by the thoroughness of the offerings you can find through the ArtsEd Washington Curriculum.
The lessons are technically designed for teachers to incorporate in the classroom. They align with the Washington State Arts Standards and Common Core Standards for Washington State. The curricula are split up by grade across K-6th. There are then multiple lessons for each grade.
Each lesson includes associated common core standards, examples of corresponding masterworks many of which highlight local artists and where you can find examples of their work in our state, an instructional video, and downloadable .pdfs including letters that can go home to families for further learning at home (in English and Spanish!)
Take a look! I’ll highlight some specific lessons in this space from time to time as inspiration.
Tahoma Audubon Bird Drawing Contest
This local contest could be a fun and interesting project to do with a class:
https://www.tahomaaudubon.org/contest/
Submissions are due April 30th.
Fused Glass at Lowell
A local Girl Scout and former Lowell student (she is now at Jason Lee), Allison Cory, is interested in sharing her passion with our Lowell Art community. In fact it is her Silver Award project! In an effort to bring more fused glass projects to our school, she and her Mom, Kelly, have invited us to gather with some wine and snacks on Thursday, March 21st at 6:30pm.
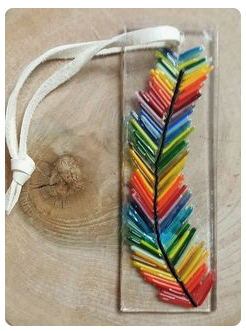
What: While helping to prep for some future Lowell projects we will learn the basics of fused glass art so that you can learn how to lead/co-lead projects in the classroom at Lowell. You’ll learn what supplies you’ll need for a fused glass project, how to cut the glass, and how to best prepare for projects, along with some project ideas. We’ll also get to make a beautiful feather piece that we get to keep after it is fired (See attached picture).
How much: We’re asking for a suggested donation of $10.00 to cover the cost of the glass.
When: Thursday, March 21st at 6:30pm
Where: Kelly and Allison’s home (exact address to be provided when you RSVP)
I am inspired by Allison’s vision and determination and I am so excited to support her project.
Please let me know if you can make it!
If you are interested and can’t make this particular date, please also let me know. Please feel free to forward along to anyone else who might be interested in leading glass art projects in Lowell classrooms.

Hundertwasser Lines
Supplies Needed:
- Watercolor paper
- Two different colored oil pastels (white and black is just one combo)
- Watercolor palettes
- Cups for water
- Brushes
Ideas for lessons:
- Friedensreich Hundertwasser was an interesting character. Learn about this contemporary artist and share a little bit about him with the students.
- Nature as inspiration
- Line – concentric circles and spirals
- Color – watercolor mixing
- Resist

Inspiration from The Artful Parent
This excerpt from Jean Van’t Hul’s book The Artful Parent: Simple Ways to Fill Your Family’s Life with Art & Creativity is such important information to share. Take a look! While you are there check out the Artful Parent site for tons of art project ideas and inspiration.
Winter Scene Project
This project can be done with any grade level. I did it with my preschool class this week so that’s where the example pictures are from. I did it in Kindergarten a couple of years ago, but it translates to upper elementary as well.
Supplies Needed:
- “Owl Moon” by Jane Yolen, or another wintry book, or no book at all. There is a copy of “Owl Moon” in room 100.
- Dark or Light Blue construction paper
- Black Oil Pastels
- White Tempera Cakes
- Paintbrushes
- Paint cups
- Glue or glue stick
- Large white paper to mount artwork to and capture the story.
- Black Sharpies for writing the story.
- For non-writers – a notebook/paper and pencil for each volunteer
Ideas for lessons:
- shadow and light
- silhouette
- resist
- illustration
- Genre art
- technique – drawing trees
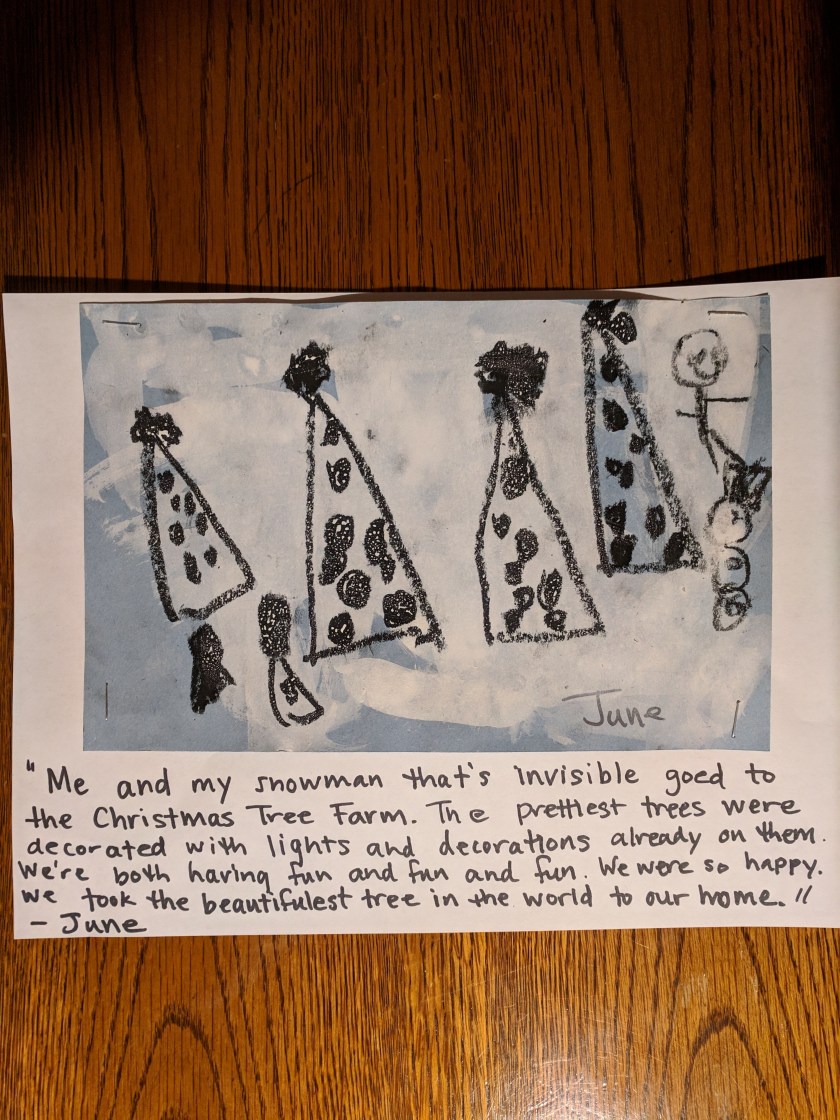
I start this project by reading the book Owl Moon by Jane Yolen, illustrated by John Schoenherr. It is a book about a young child who goes to look for owls with his/her Pa after bedtime. The book is beautifully illustrated and full of simile and metaphor which could be a nice focus for older children.

Next I ask the children to be inspired by the story and draw their own shadowy winter scene. If they were allowed to be outside in the snow with the moon shining down, what would they choose to do? Have them draw their shadowy, silhouette scene with the idea that they will share a brief story in the next steps. Perhaps give an example on the overhead of how to draw trees:

Next have the children use the white tempera to create their snow layer. **White tempera cakes work great for this. Make sure the children get a lot of paint on their brushes before painting. If there is too much water the paint tends to sink into the construction paper and disappear.

Next, have the kids glue their artwork to a larger piece of white paper. For neatness, you may have the kids draw pencils lines on the white paper to write their story on. You could do this ahead for younger grades as well. The next step is to capture the story of the picture. In the younger grades volunteers can ask each child to tell the story of their picture while they write it down in a notebook to be transcribed on the white mounting paper later (by the volunteers). In upper elementary the kids can write their own stories under or next to their artwork using black sharpies.
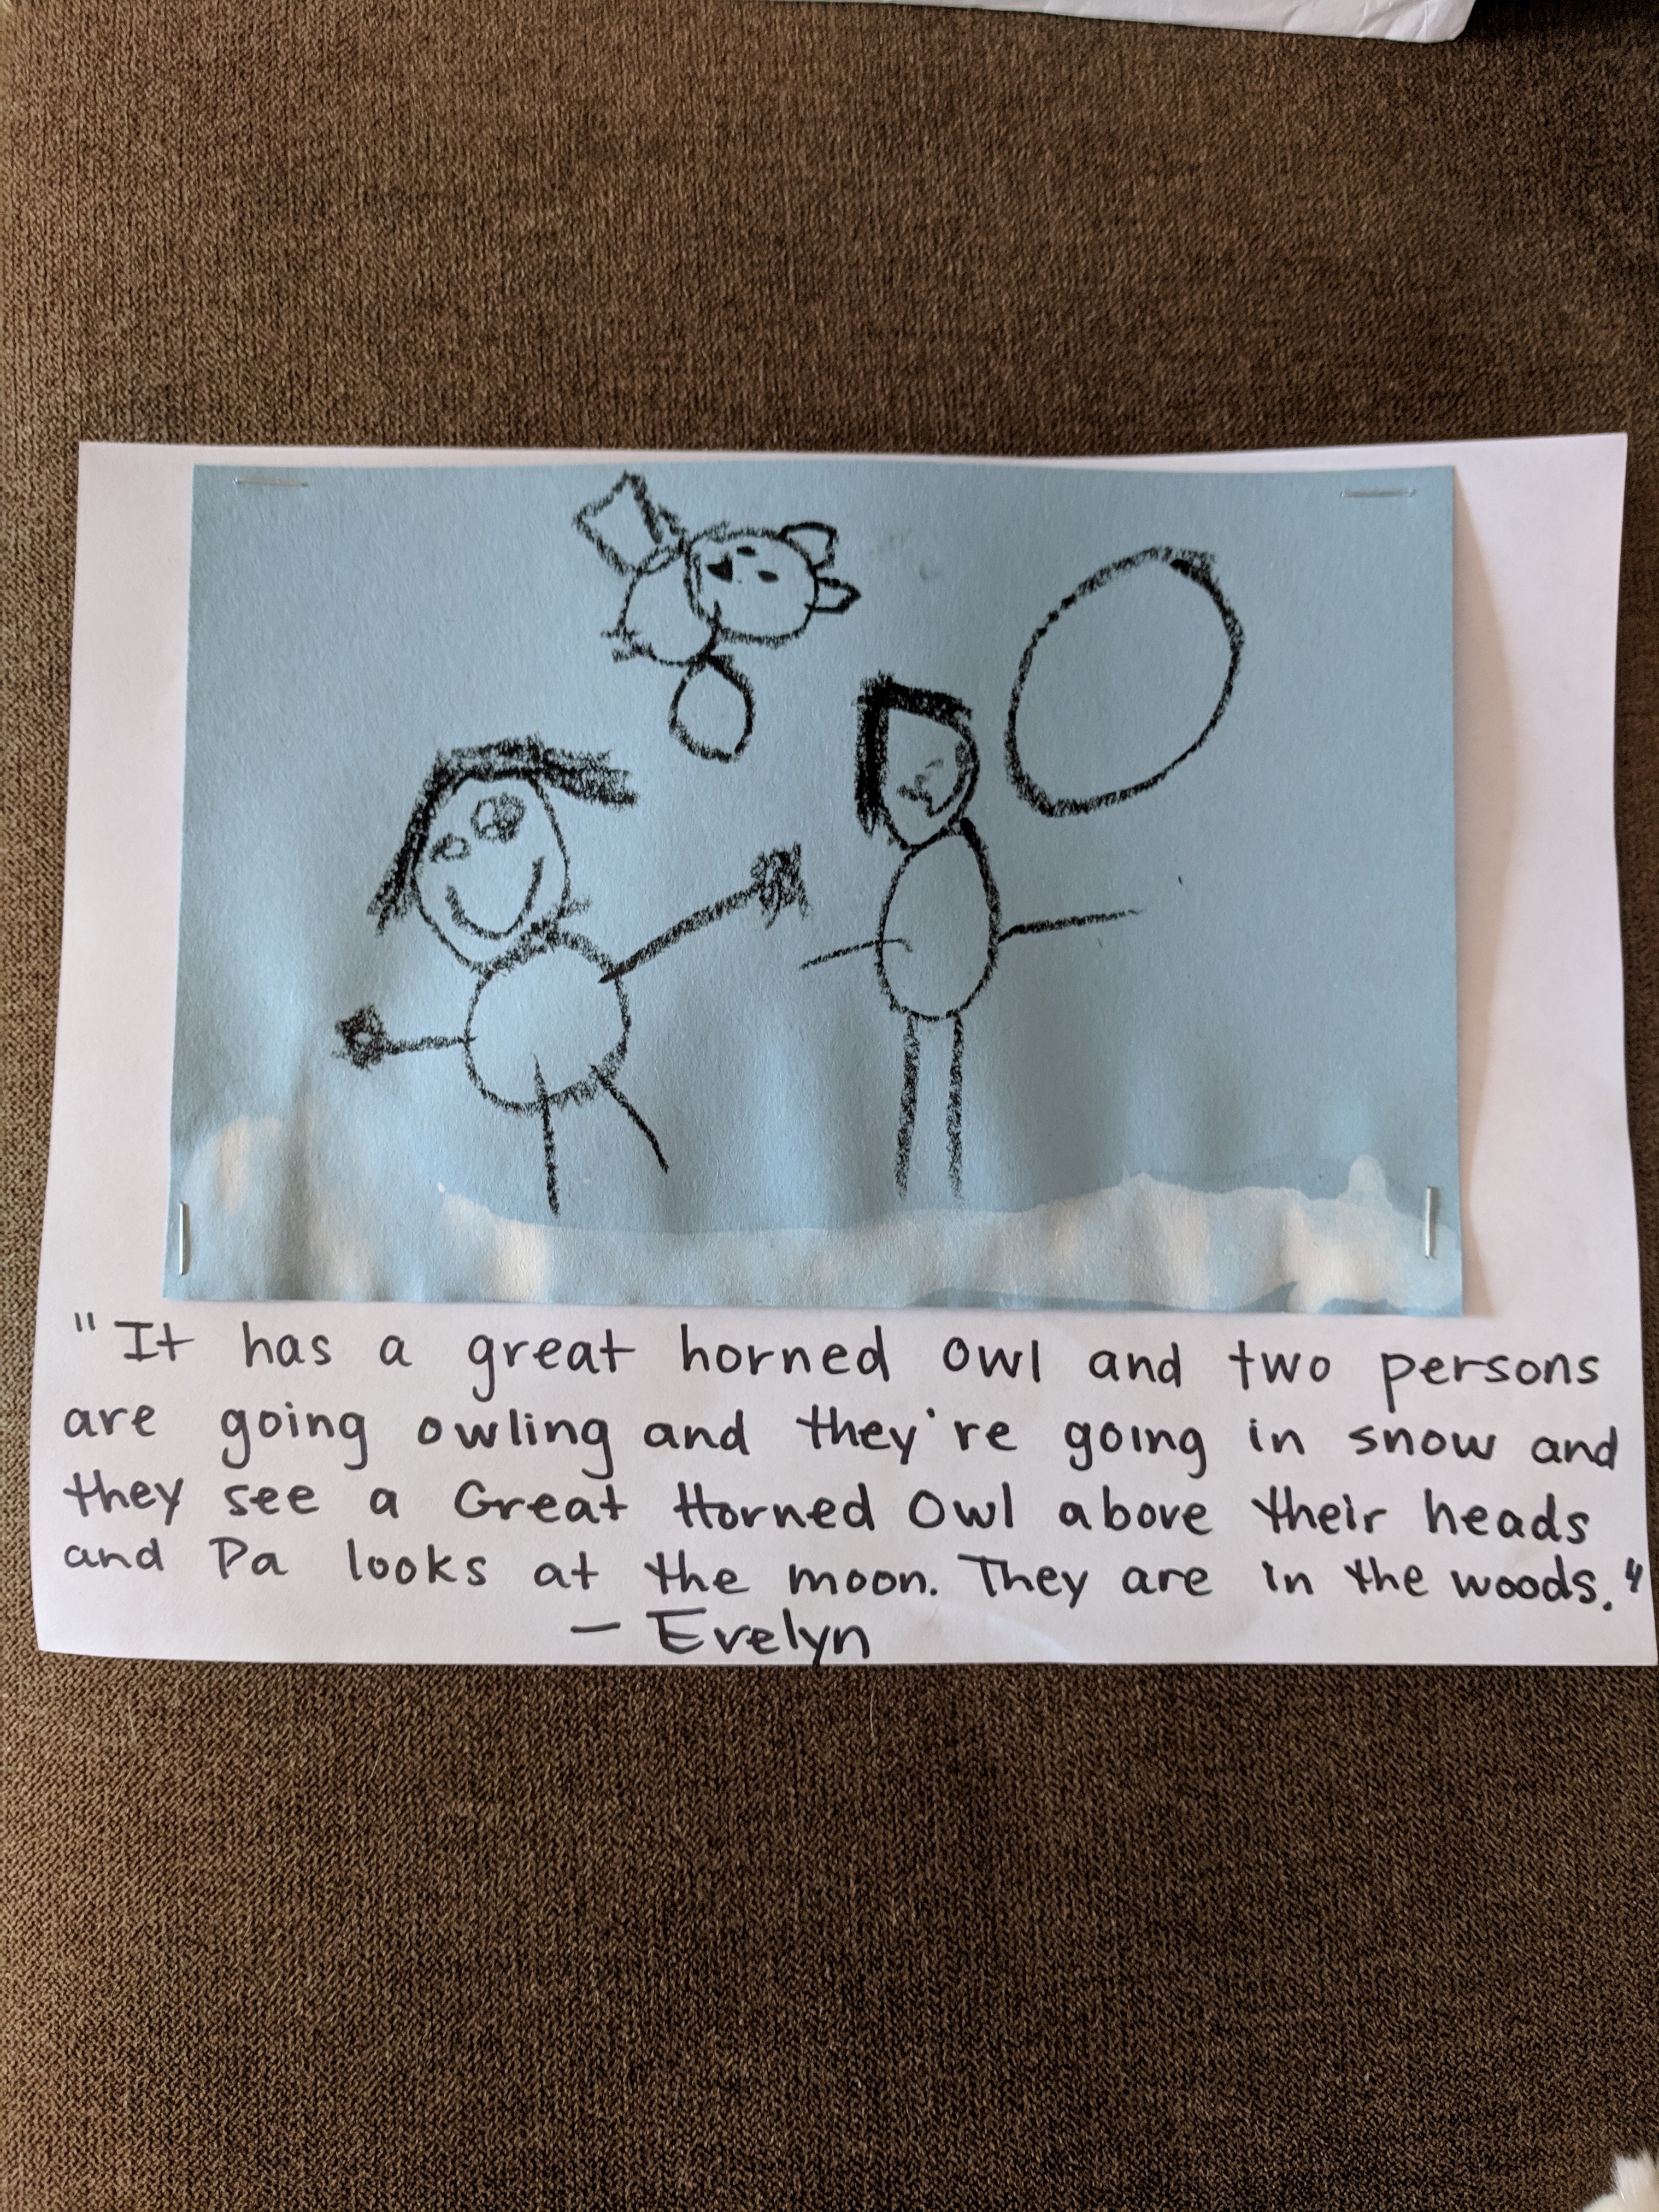
I just love seeing what the kids come up with. Note that you can skip reading the book and/or skip writing the kids’ stories and it is still a cool project.
