This is one of my favorite projects to do.
Supplies Needed:
- Watercolor/Heavy paper
- Assorted Recycled materials from Tinkertopia
- White glue
- Glue dots or a hot glue gun for post-production or older grades
Ideas for Lessons:
- 3-dimensional art
- Creative problem solving
- Using glue in appropriate amounts
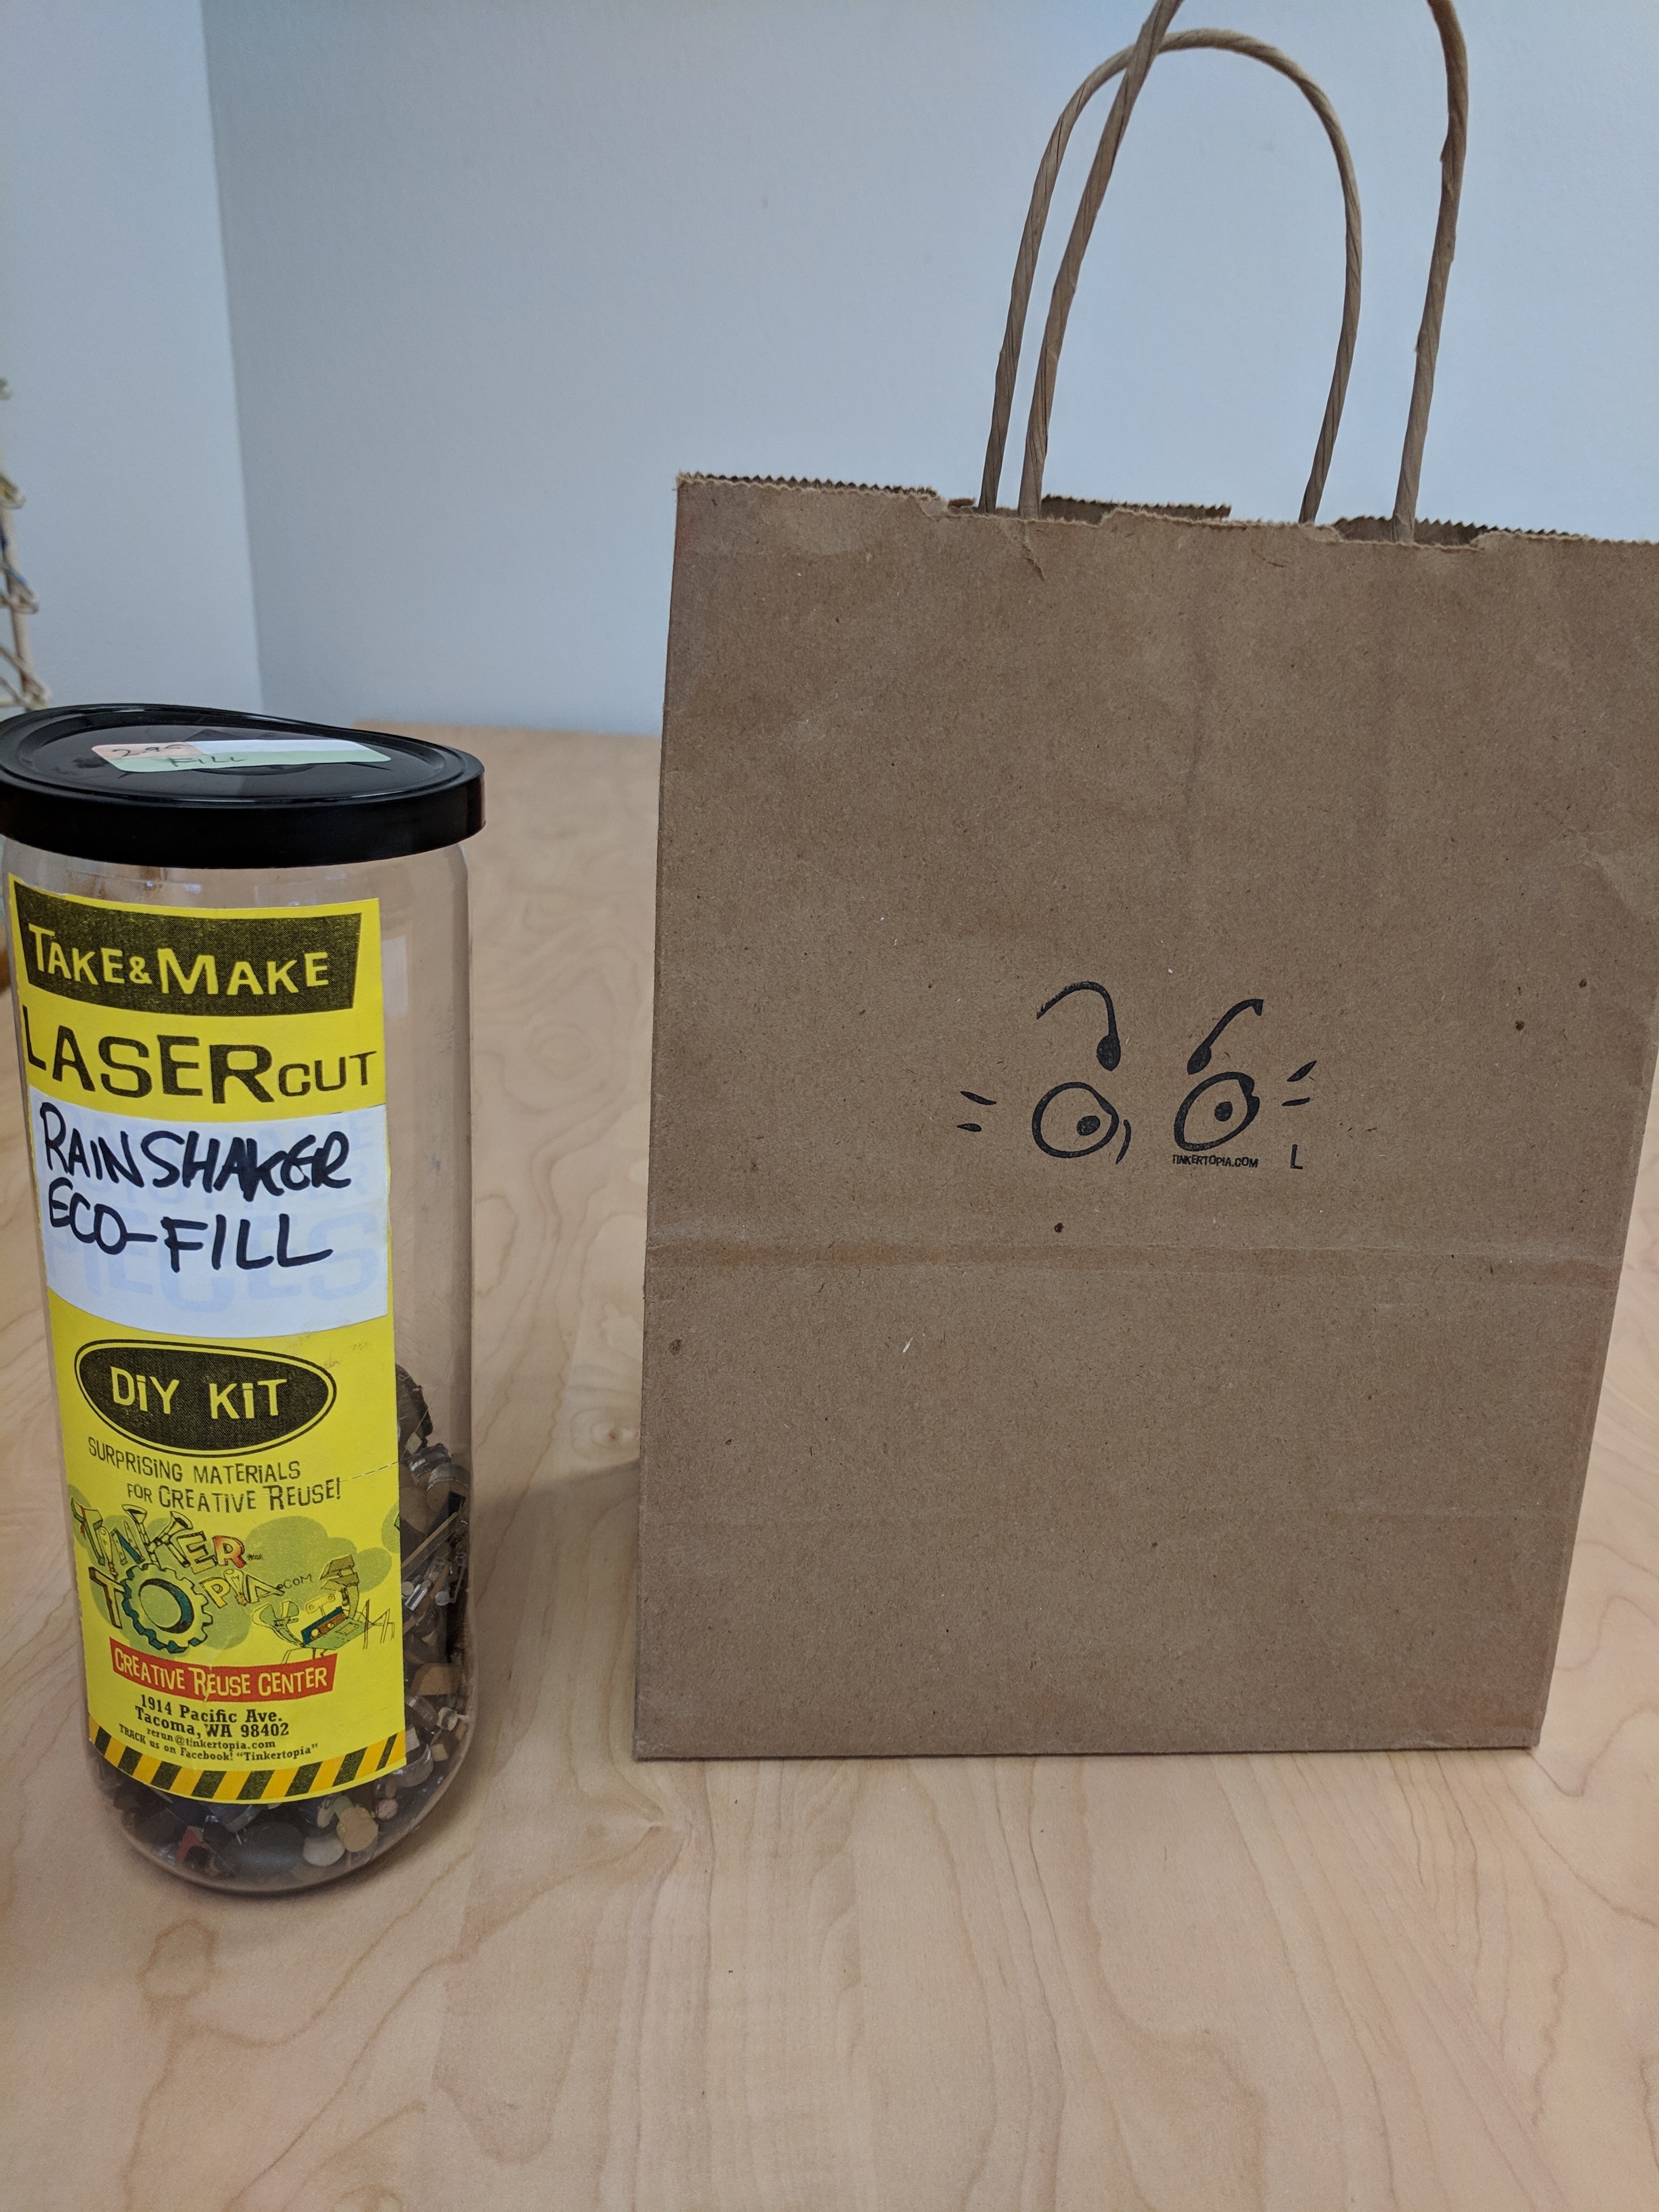
The first step in this lesson is to go to Tinkertopia in downtown Tacoma and purchase recycled bits and baubles for the kids to make into robots. You can get a large sized bulk bag for about $10.00. It is wise to choose pieces from the bulk section that are easily glued to paper and to each other with regular school glue. I choose things made out of thin wood, lexan, and cardboard mostly. Think about the shapes of things too. I get a big handful of round pieces for eyes, heads, wheels. And longer pieces for arms and legs. Larger squares for bodies. I also purchased a “rain shaker kit” of theirs which provided a ton of smaller pieces to use a buttons, switches, eyes, etc. You can be reimbursed for these purchases by submitting receipts along with the PTA reimbursement form to me.
I like to ask the kids to develop a “robot” that will solve a problem. You can do this any number of ways. Ask for a set of every day problems (reaching for things that have fallen under the couch, cleaning up after baby sister, etc.) then ask the kids to build a robot that could help solve that problem. What kind of tools would the robot need to have to do their job?
Then let the kids have at the goodies. They need quite a bit of glue to get things to stick well. I portion out different sized bits into bowl and put a selection on each table. You could also do it “buffet style”. I also like to have glue dots or a hot glue gun around to attach anything that is being stubborn. I do this after the kids are gone though or everyone will want to use those things.

